Our Indy 11.5 Aquaponic System

Dillsburg, PA. Monday May 1, 2023.

It’s been a busy year since our last post! (Sorry its been so long). We were so inspired by Murray Hallam’s Aquaponics Design Course that my wife Kristi and I built a custom version of his Indy 11.5 Aquaponics System in our backyard.
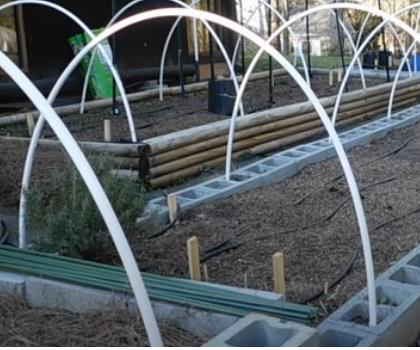
Hoop House

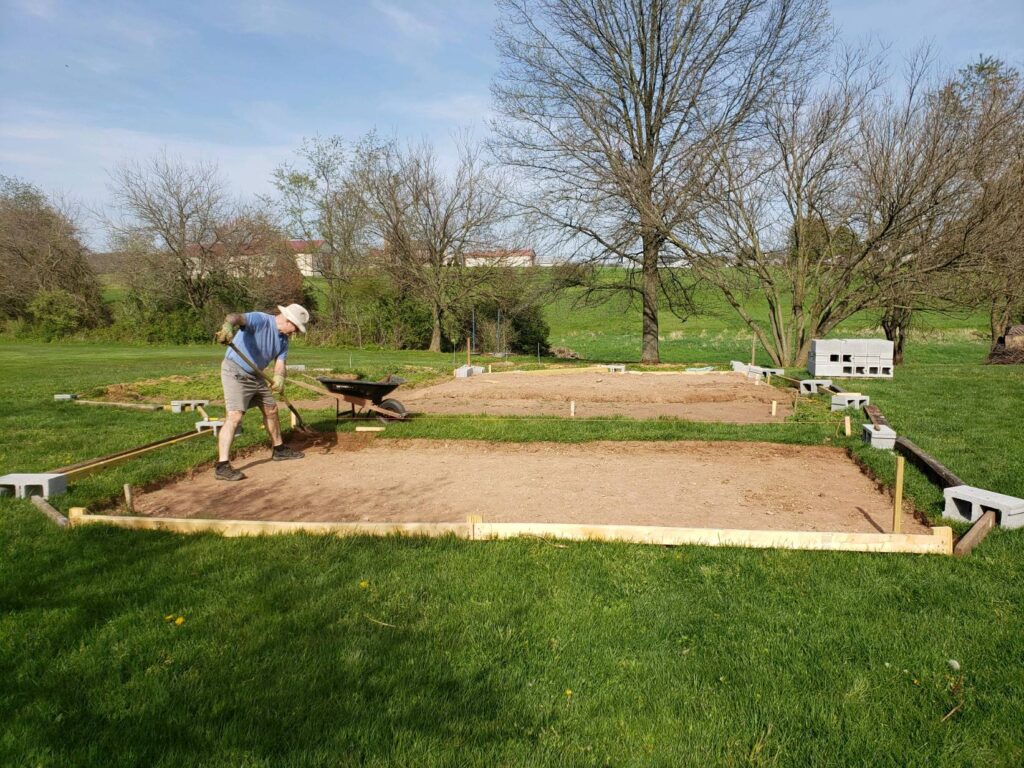
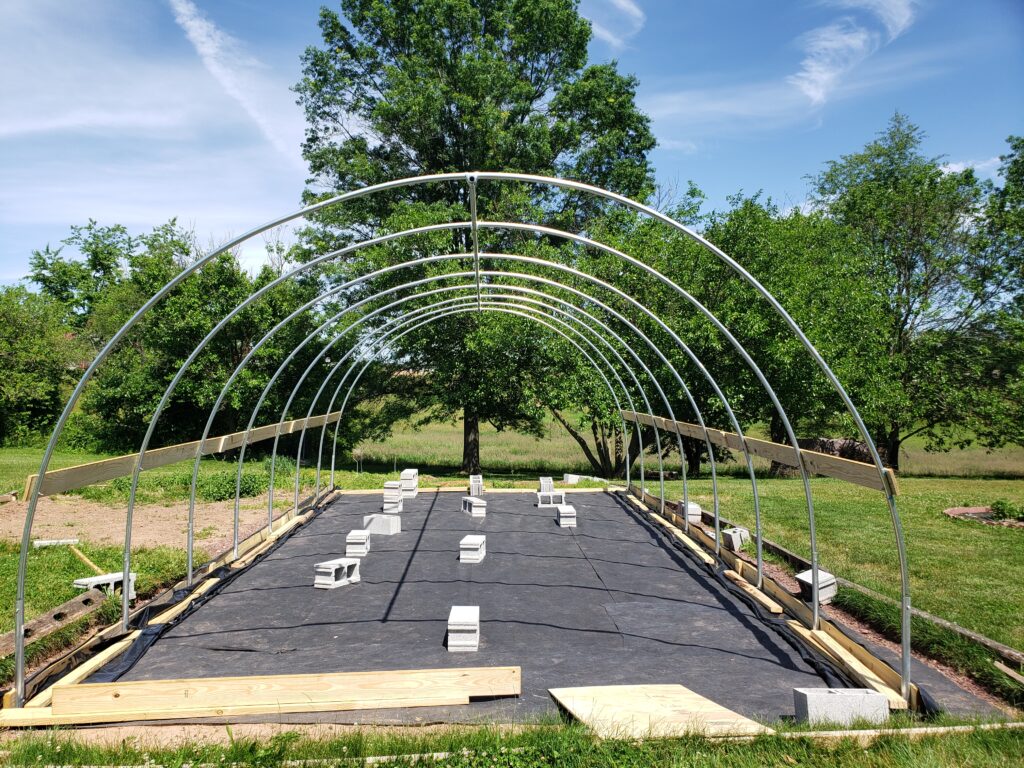
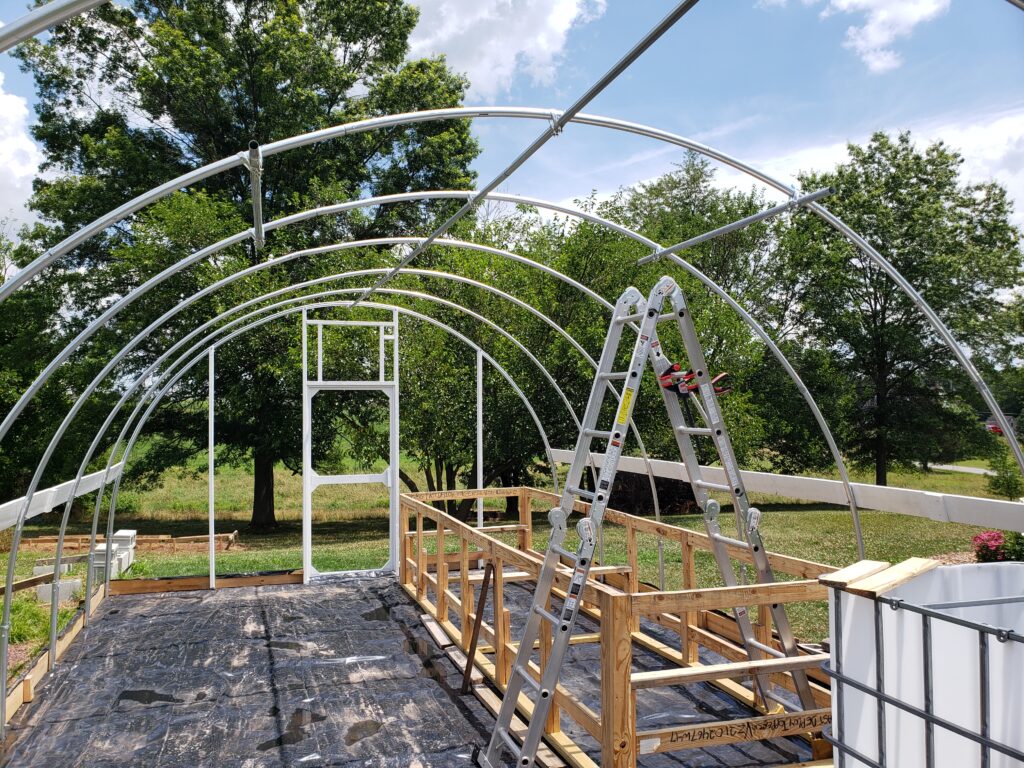
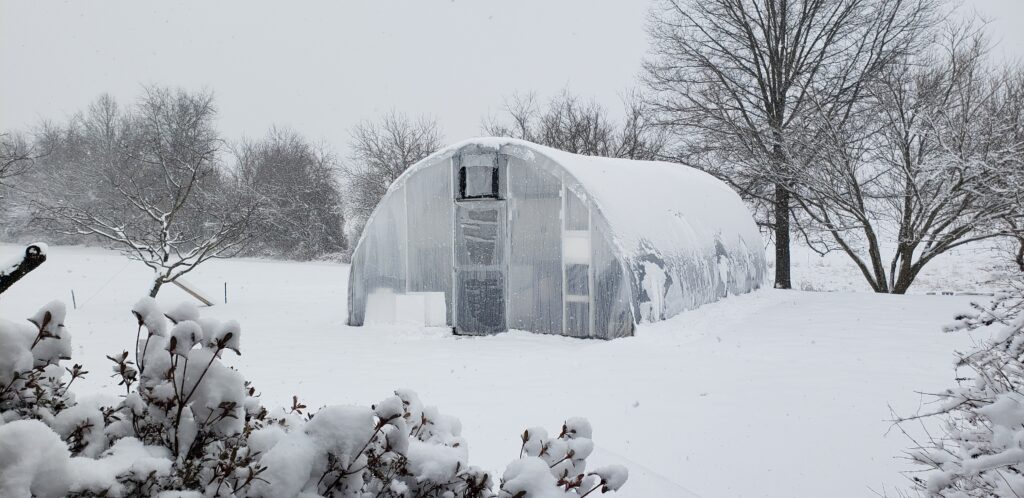
It all started in May 2022, when I dug out and leveled a 30 foot by 18 foot foundation for a high tunnel greenhouse. I followed guidelines from Bootstrap Farmer to build a 16 foot by 28 foot hoop house using chain link fence posts and top rails. (My neighbor Steve helped me drive the posts and bend the hoops). The hoops are covered with 6 mil green house plastic. (Two layers in winter). The plastic is fastened to the hip boards and baseboards with wiggle wire and tracks.

Fish Tank and Filters

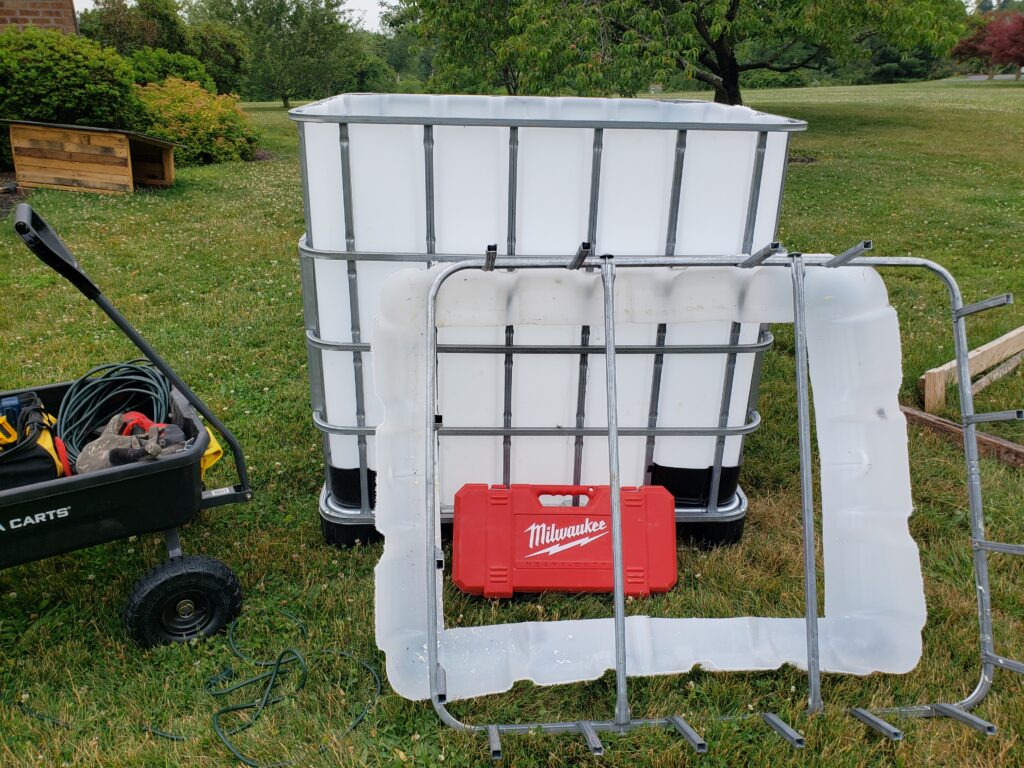
The fish tank is a used 330 gallon IBC Tote (with a few inches cut off the top). There are two 55 gallon plastic drums for the swirl filter and mineralization tanks. These were placed into the greenhouse before the end walls were constructed .

We purchased 30 Tilapia fingerlings from Lakeway Tilapia for the fish tank. Along with their starter food Pro Pack. “Each Pro Pack contains the exact amount of tilapia food necessary to raise tilapia fingerlings from one inch through six inches long.”

Free Wood

New Hope Ministries in Dillsburg, PA hosts a food pantry were customers can shop for items they need free of charge. The pantry offers fresh produce and has coolers. Kristi and I were led by the Holy Spirit to volunteer there and donate produce from the Aquaponics greenhouse. Across the street is a big sign that reads “Free Pallets”. I found enough wooden shipping crates there made of plywood and 2×4 lumber to build both of the grow beds!

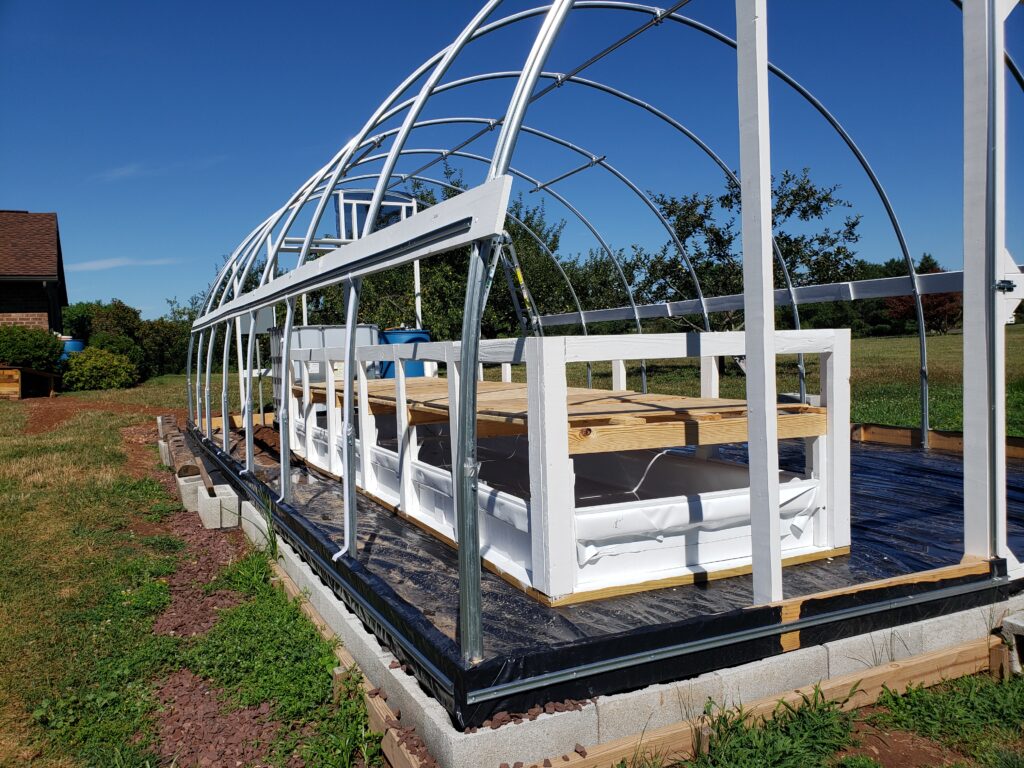
I used SketchUp to design two 4 foot by 16 foot grow beds using the dimensions of the salvaged lumber. The crate bottoms became the bottom of the grow beds and the crate sides became the sides of the grow beds. And the 2×4’s are the legs and cross braces.

Grow Beds

The Indy 11.5 has 4 separate 4 foot by 8 foot grow beds. The grow beds and the sump are all lined with Duraskrim, a 20 mil thick food grade reinforced plastic. Two of these are Media beds. One is a Deep Water Culture (DWC) bed. And one is a Wicking bed.

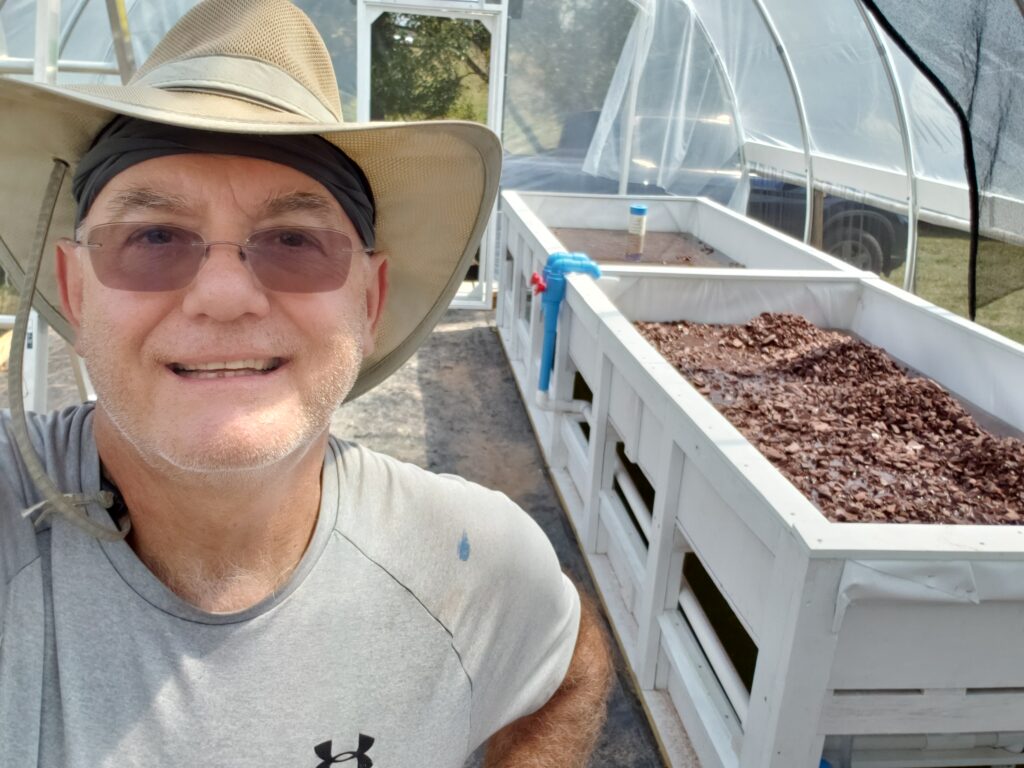
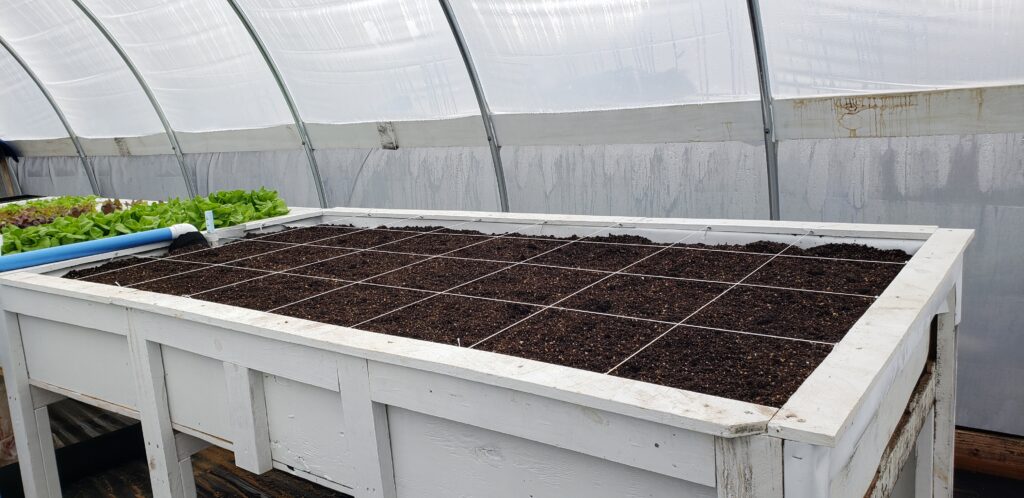
The Media beds are flood and drain systems filled 10 inches deep with 3/4 inch gravel. Water is continuously pumped into the beds and an auto siphon (or bell siphon) drains the bed into the sump below when it gets 8 inches deep. The gravel provides a strong foundation for larger plants like broccoli, kale, and peppers. We also use it for cut and come again plants like spinach, arugula, basil, cilantro, and leaf lettuce. I designed a 10 inch deep trough under the media beds for the sump. The sump is insulated underneath with 1 1/2 inch Styrofoam.

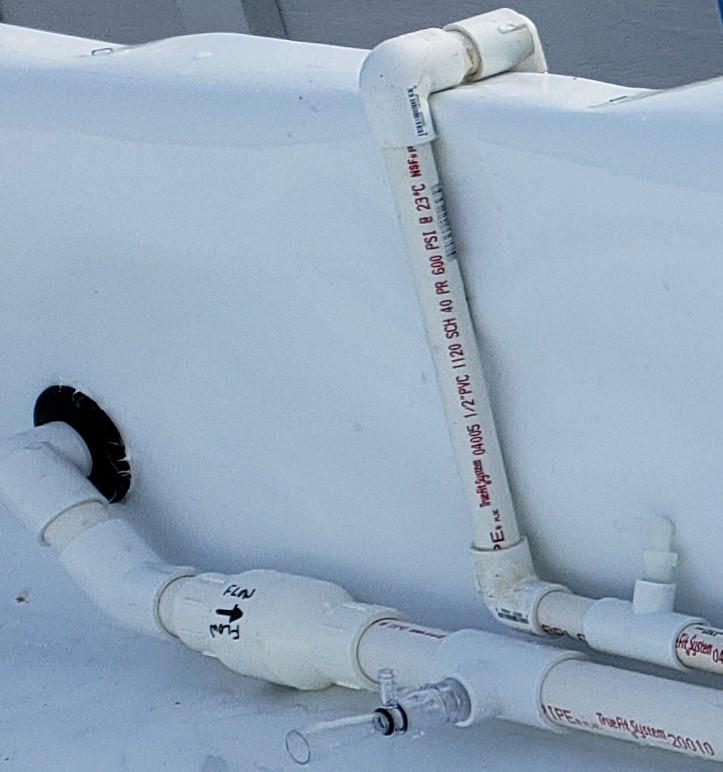
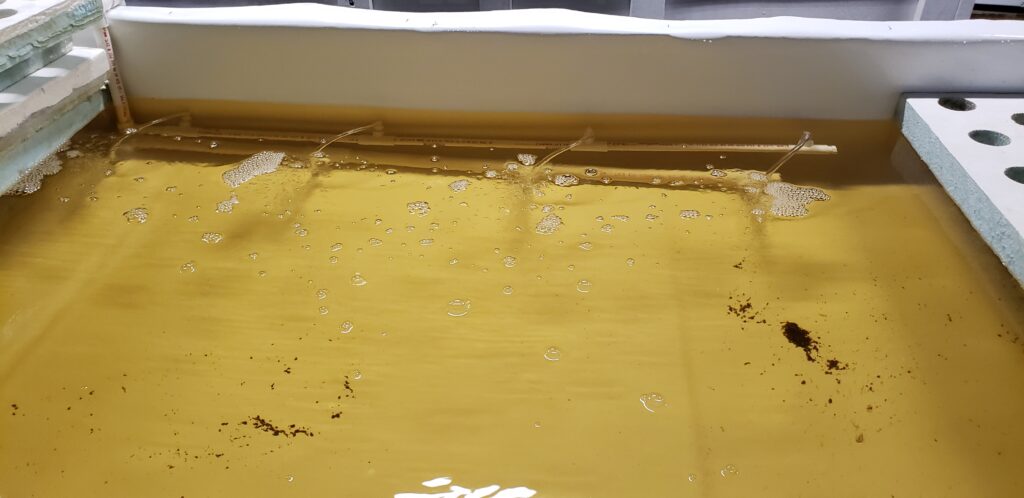
The Deep Water Culture (DWC) bed is our lettuce factory where we grow 24 plants per week on 2 inch thick floating rafts. There are 5 24-hole rafts and 2 36-hole rafts. When seedlings are one or two weeks old they are transferred from the cell trays into net pots in the 36-hole rafts. After another week or two the seed starting media is cleaned off the roots and they are transplanted into Grow Grips and placed into a 24-hole raft. Water is pumped into the DWC through Infusinator venturi valves to provide aeration and flows out back to the sump. An adjustable stand pipe keeps the water level at about 10 inches deep.

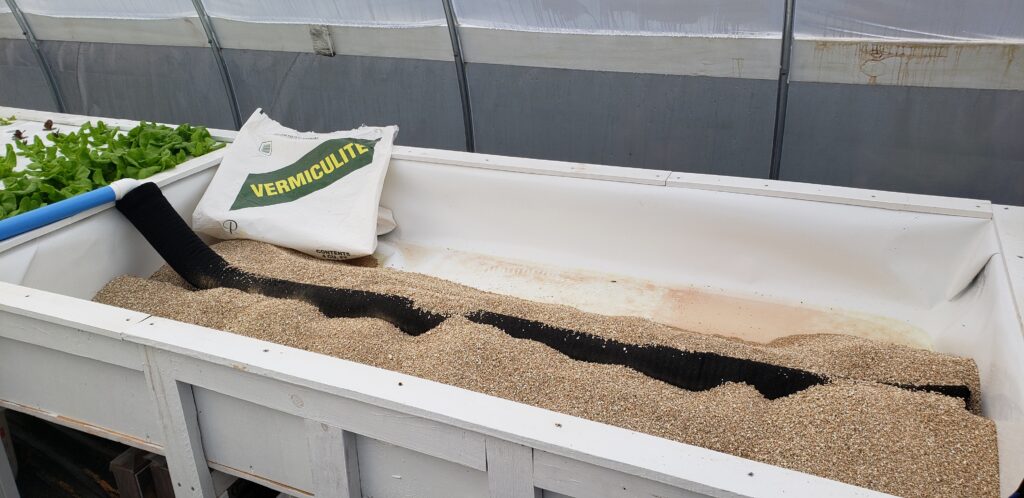
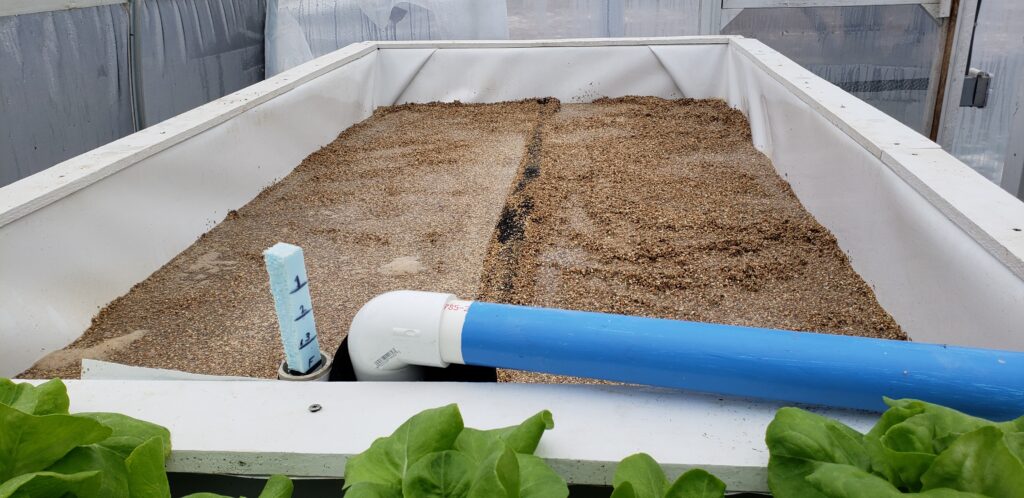
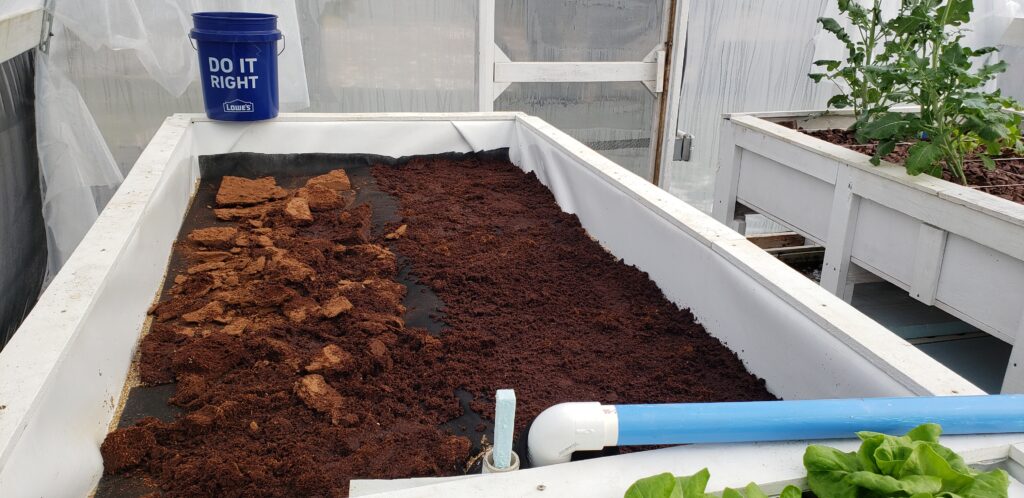
The Wicking bed is self watering and is ideal for growing root vegetables like carrots, beets, radishes, potatoes, and parsnips. It has a 4 inch deep vermiculite base that acts as a water reservoir. A 4 inch slotted fill pipe runs the length of the bed. A sheet of weed mat separates the vermiculite from the coco coir, compost, and vermiculite grow media. Water moves to the surface by natural capillary action. (The water does not return to the sump from the wicking bed).

Free Water

When all the components are filled with water the system holds about 1000 gallons. To fill the system initially and to provide water to top up the sump when it gets low we setup three 55 gallon drums to collect rain water from the roof of our house. A 3/4 inch potable water pipe was buried under ground to connect the rain barrels to a float valve in the sump. When the sump water level drops to within about an inch above the water pump the float valve opens to allow water to flow into the sump from the rain barrels. I found the Little Giant Plastic Trough-O-Matic Float Valve at Tractor Supply.

When It’s Cold Outside

The winters in Central Pennsylvania get cold. The summers are warm and humid, the winters are very cold and snowy, and it is partly cloudy year round. Over the course of the year, the temperature typically varies from 23°F to 86°F and is rarely below 11°F or above 94°F.

Heating is provided by four AQQA 800 Watt Aquarium heaters in the fish tank. These maintain the fish tank at 78 degrees Fahrenheit. The sump will be about 71 degrees in the morning after a cold night.

A second layer of plastic is added to the hoop house to increase insulation in the Winter. There is an inflation blower that pumps dry outside air into the gap between the layers. This more than doubles the insulation (R) value of the plastic covers.

Air Ventilation and Circulation

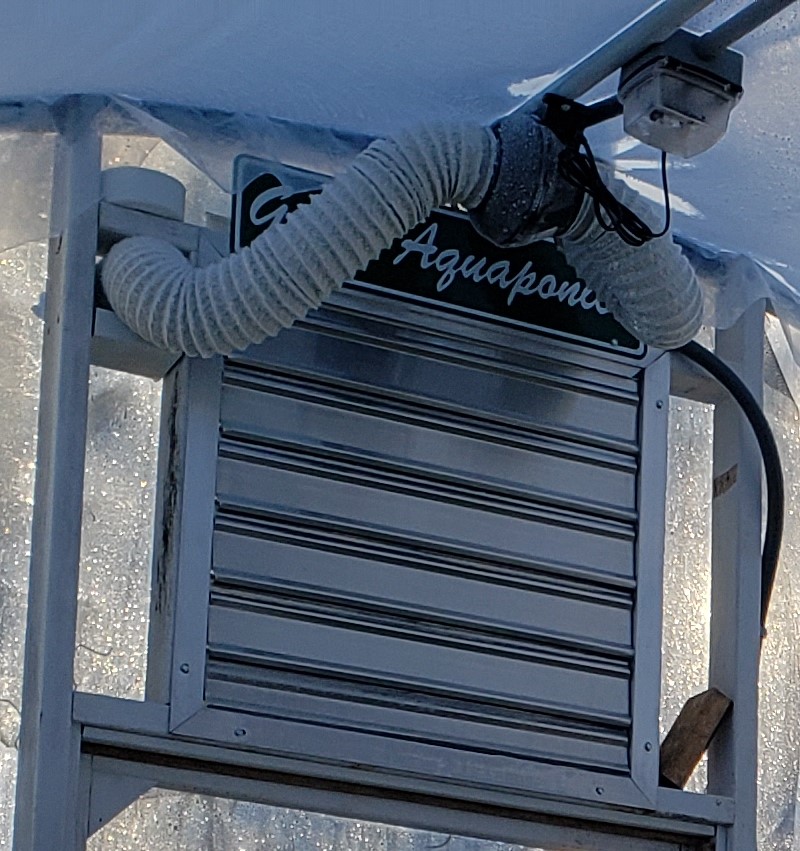
There is one Exhaust fan on a thermostat in the West end wall above the door. This is the second time we have used the iLiving – 24″ Wall Mounted Exhaust Fan with Automatic Shutter. On a sunny day the greenhouse quickly reaches 80 – 85 degrees Farenheit. The exhaust fan turns on at about 90 degrees and will cool the greenhouse down to 72 degrees (assuming it is this cool or less outside).

In the Winter, I also roll up the plastic on the West facing door (our prevailing wind is from the West Northwest) to allow dry air to circulate inside. There is a louvered vent above the East door that will open automatically when the exhause fan comes on and I also prop it open in the Winter to allow natural airflow.

There are two cSimple Deluxe 18 Inch Industrial Wall Mount 3 Speed Commercial Ventilation Metal Fans one above each grow bed. These are turned on manually, usually in the morning to dry off the plants. When the humidity get too high these are also used to circulate air and help move it our of the greenhouse through the end wall vents.

During the warmer months the second layer of plastic is removed from the greenhouse and the sides are rolled up halfway to allow natural air circulation. The bottom half of the sidewalls are covered with screen to prevent bugs from coming in. The doors are also covered with screen so the plastic can be removed.

Air Pumps and Air Stones

There are three Tetra AP 300 Whisper® Deep Water Air Pumps. I love these pumps because they are very quiet and provide good aeration to the bottom of the fish tank and mineralization tank. They also provide an inexpensive repair kit to replace the internal rubber diaphragms and working parts to extend the life of the pump. I’ve had five pumps in various systems running outside in a greenhouse (summer and winter) continuously for over 6 years. The air stones we use are medium pore 1-1/2″ by 0.75″, 0.35 cfm Sweetwater AS8S air stones, from Pentair Aquatic Eco-Systems. Medium pore air stones combined with the AP 300 air pumps are the most economical for the amount of air these systems need. The tubing from the distribution manifold to the air stones to the AP 300 is black vinyl 3/16″, (AES # BTP30HD).

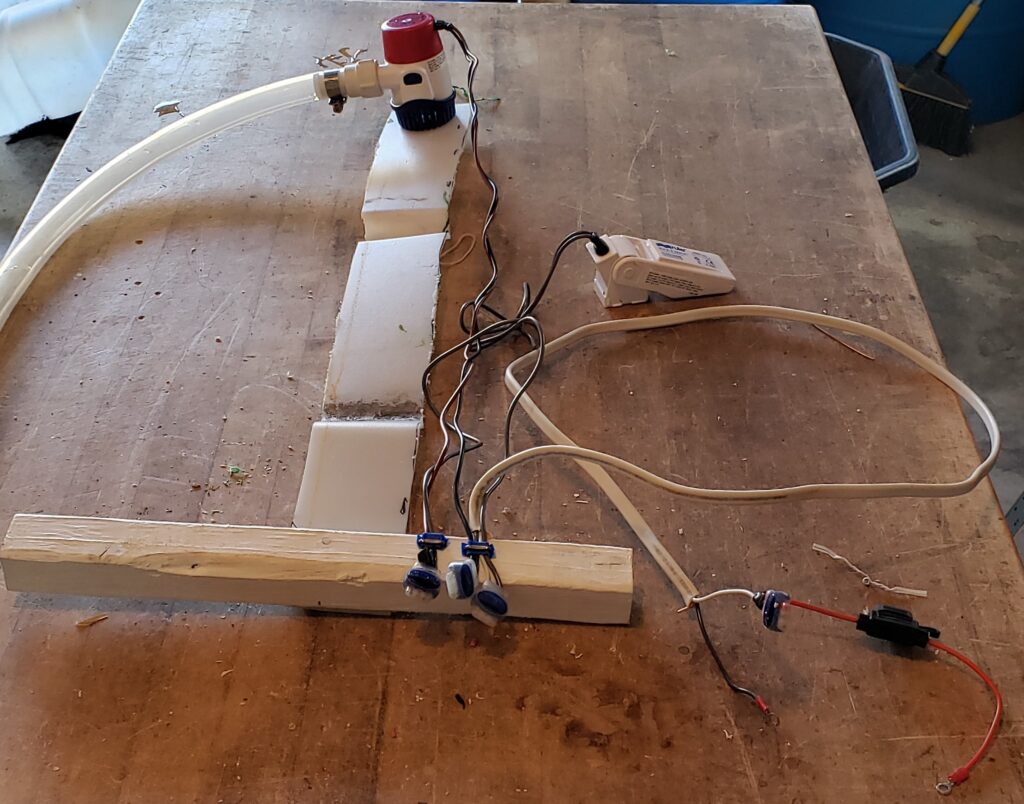
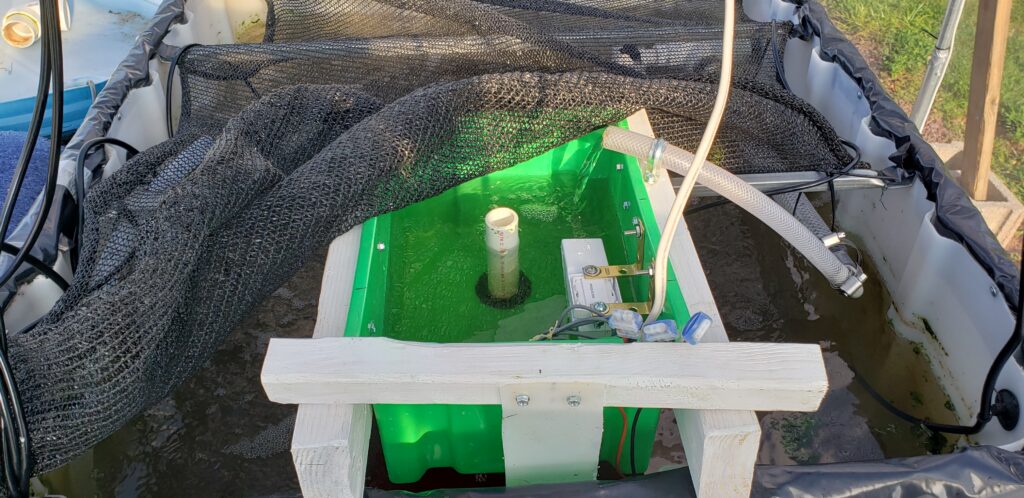
Fish Tank Aeration Backup System

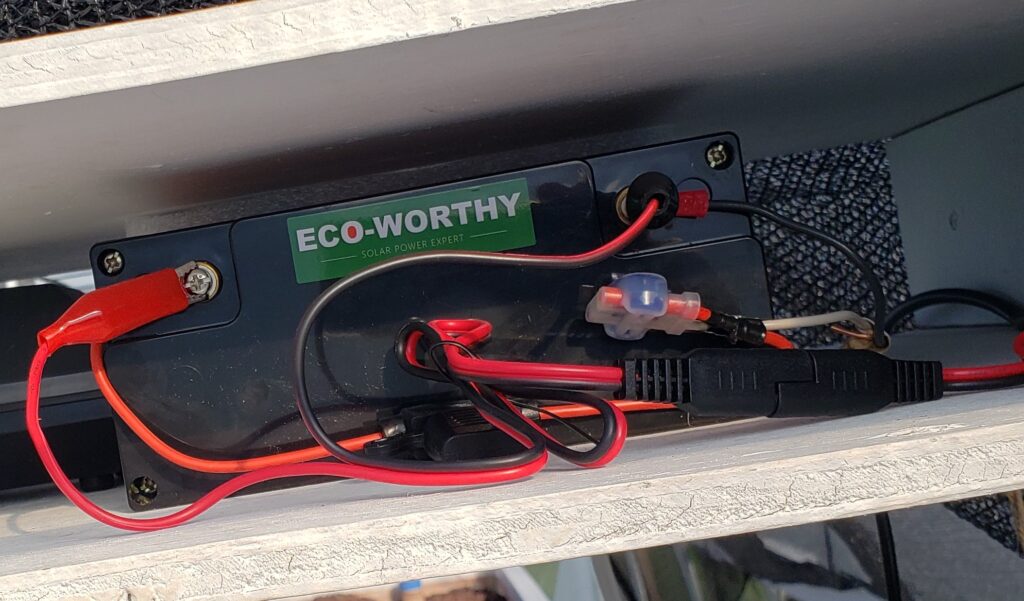
We learned how to make a simple aeration backup system for the fish tank when the main electricity grid goes off from Murray Hallam’s Aquaponics Design Course. The system pumps water from within the fish tank and sprays it onto the top. This breaks the surface and circulates the water. Our backup system is made from a 12V DC Rechargeable LiFePO4 Lithium battery, a Rule bilge pump, a Rule float switch, a plastic box, a Uniseal, a short piece of PVC pipe, two lengths of 3/4″ vinyl tubing, a couple hose clamps, a valve, and a 90 degree elbow.

Harvesting for Foster and Adoptive Family Dinner

Tonight our life group has the privilege to serve dinner to the monthly Foster-Adopt support group at Daybreak Church. God has blessed us with a bountiful harvest of Lettuce to serve with the meal!

Jesus replied, “I am the bread of life. Whoever comes to me will never be hungry again. Whoever believes in me will never be thirsty. 
John 6:35 NLT

A six gallon bucket of pure, fresh lettuce ready to be made into a healthy salad!

Planting and Harvesting Kids Club 2023

Our friends John and Tracey Pieters sent us this visual summary of what they did near the end of February to get the kids to participate in planting. The activity included a parable taught by Tracey on the 4 soils, a craft, games and a time of water play in a small pool. It was not only a gathering of kids, but the parents too who were able to spend time together.

Mexico City, Mexico

The Sower

He told many stories in the form of parables, such as this one: “Listen! A farmer went out to plant some seeds. As he scattered them across his field, some seeds fell on a footpath, and the birds came and ate them. Other seeds fell on shallow soil with underlying rock. The seeds sprouted quickly because the soil was shallow. But the plants soon wilted under the hot sun, and since they didn’t have deep roots, they died. Other seeds fell among thorns that grew up and choked out the tender plants. Still other seeds fell on fertile soil, and they produced a crop that was thirty, sixty, and even a hundred times as much as had been planted! Anyone with ears to hear should listen and understand.” Matthew 13:3‭-‬9 NLT 

Kids Planting Day at the Mexico City Aquaponics House

The new neighborhood Kids Club “Siembra y Cosecha” (Sowing and Harvesting), for ages 5 to 15 had its kick-off event on February 26th, 2022. The event offered the children Games (Juegos), Bible Lessons (Curso), Crafts (Manualidades) and Refreshments (Refrigerio). Fourteen children from the neighborhood came to help plant seeds in the new Square Foot Garden wicking bed.

The sign announcing the Kids Club event.
The children were excited to learn how to plant vegetables and herbs.
A Father shows his daughter where to plant the seed.
Tracey helps a girl with planting.

The children painted pots to fill with planting mix and to plant their own seeds to take home and nurture.

Boy having a snack after painting his pot.

A group of children painting their pots.
A special 3-hour prayer meeting was held the night before the planting day.

The Aquaponics House is a Community Garden for the neighbors on this street. The location is used for Sunday Worship services and community outreach. Many of the residents here believe in God but have not taken the steps to live a Christian life. Tracey and John Pieters are living among them, caring for them, and teaching them how to Love the way Jesus loved us!

The Wicking Bed is the first part of a two-phase project to build a Community Garden. The second phase is starting now to build an Aquaponics System on the roof of this house. The system design has been completed but we need additional financial support to purchase the materials and equipment. Please consider contributing to this effort. Follow this link https://uwm.org/missionaries/27334/ to John & Tracey Pieters – United World Mission (uwm.org) or write a check to “United World Mission” and note your preference to “John & Tracey Pieters Account #27334 – Aquaponics”.

Wicking Bed Build at Mexico Aquaponics House

The Mexico City team has the Wicking Bed ready to plant seeds of hope and fresh food in the new community Aquaponics House! Thanks to Tracey, Luis, Jerry, and John. This is the first phase of the system build. (The second phase will be the Aquaponics grow bed and fish tanks on the roof!)

The Mexico City Team:
Tracey, Luis, Jerry, and John

The Wicking Bed is made from standard concrete blocks setup in two rows.

The bed is lined with food safe LDPE plastic, then insulated with 10mm (3/8”) Styrofoam (Polystyrene) on the bottom and sides. The Styrofoam protects the plastic liner and stabilizes the temperature. Water is added to the bed through a 100mm (4″) pipe along the bottom (drilled with holes) that is covered with volcanic rock (Red Tezontle) on both sides. The rock helps improve the water dispersion into the bottom of the bed and stabilizes the pipe.

Luis and Jerry add a 100mm (4″) layer of course horticultural vermiculite to cover the pipe. This creates the water reservoir. There is a 19mm ( ¾”) PVC pipe through the side to allow overflow if the water reservoir gets too full after rain.

A layer of shade cloth or geo textile cloth is placed on top of the vermiculite to keep it separate from the compost.

A 254mm (10”) layer of well-aged compost is added and then topped with a 50mm (2”) layer of straw mulch.

The top edge of the cement blocks will be left open. The excess plastic is tucked inside over the Styrofoam lining. The exposed holes can be filled with planting media and used to grow companion flowers that attract beneficial insects. Another option is to place Trellis posts on the northwest end in these holes for climbing plants like Cucumbers, or beans.

Row covers will be used to protect the plants from heavy rains or cold temperatures during winter.


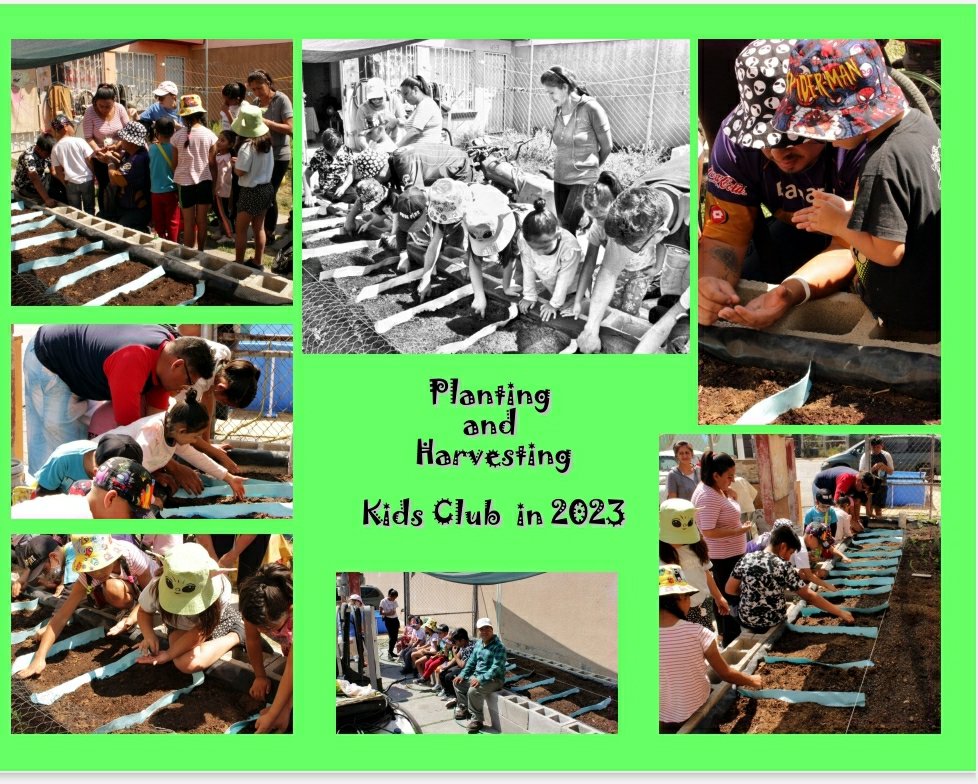
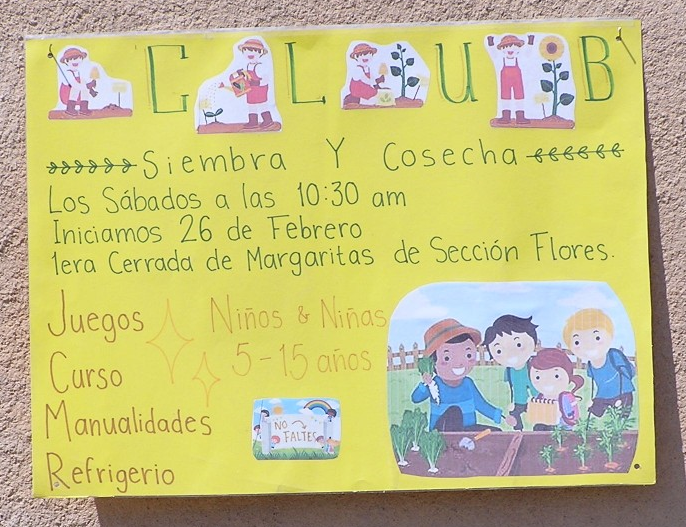
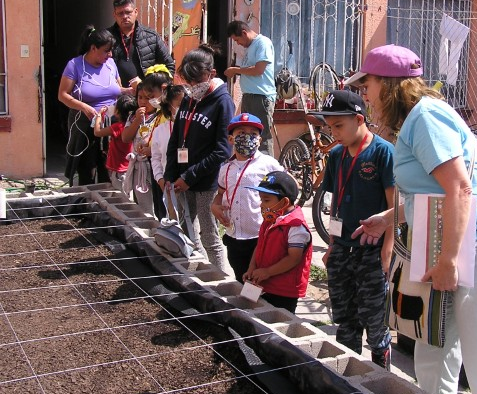
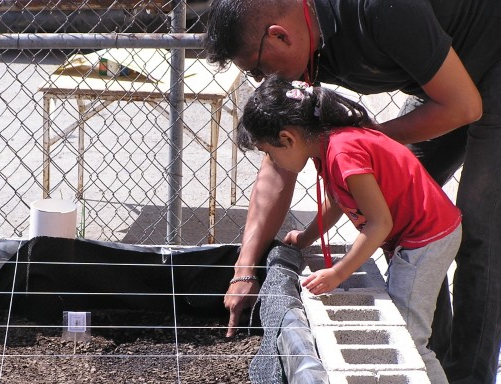
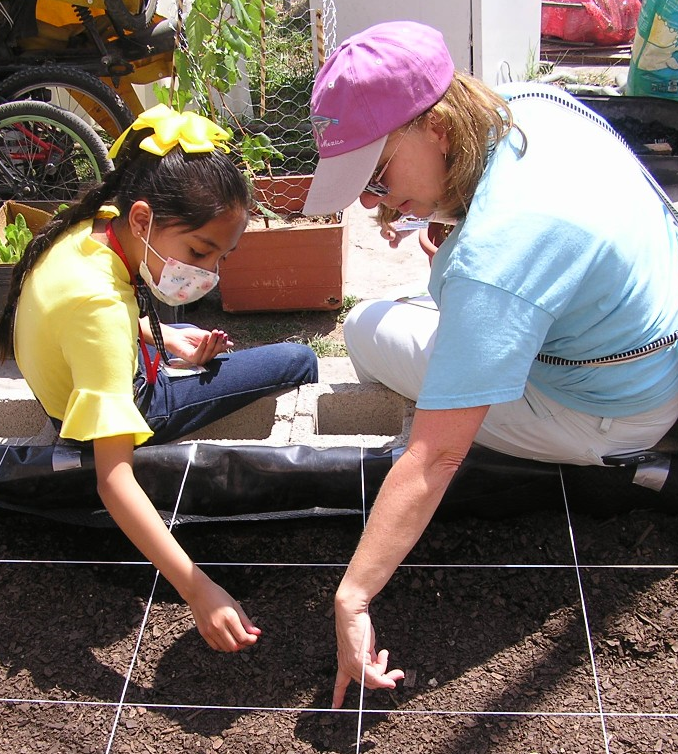
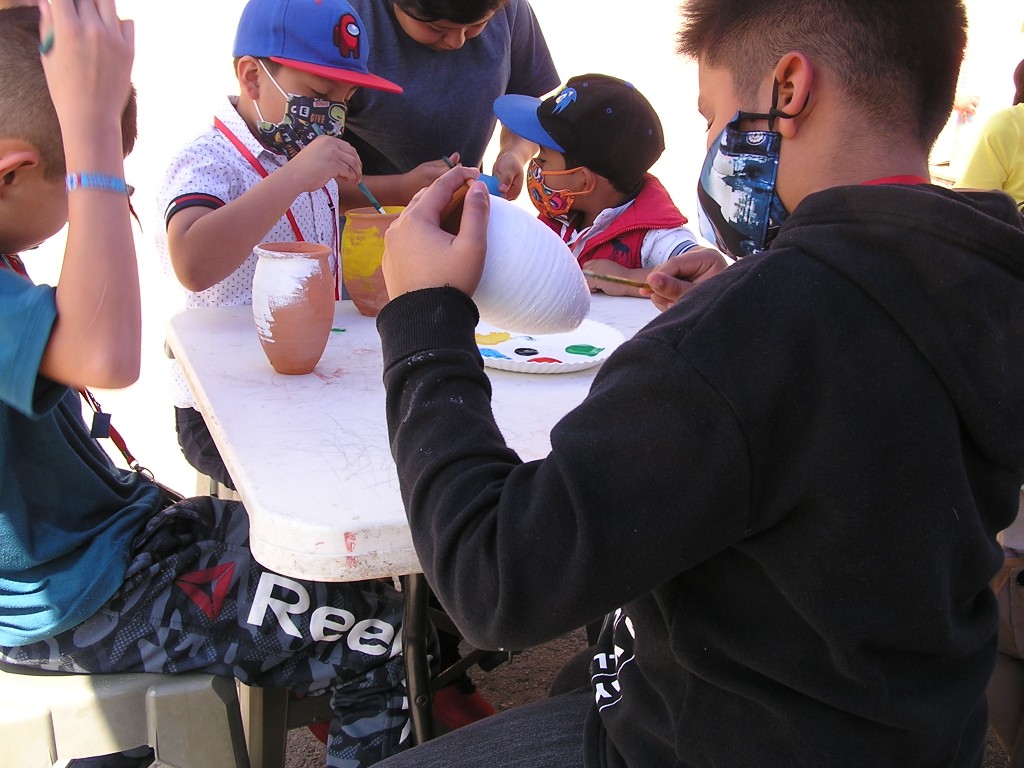
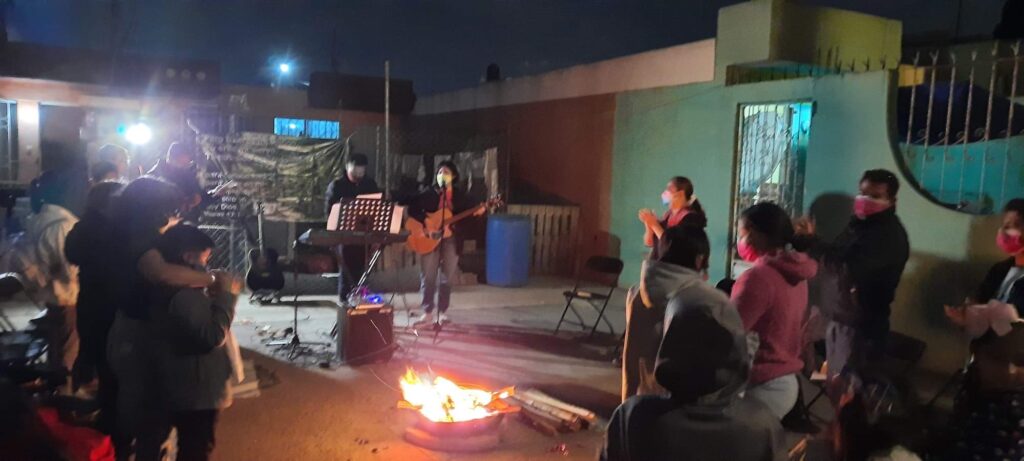
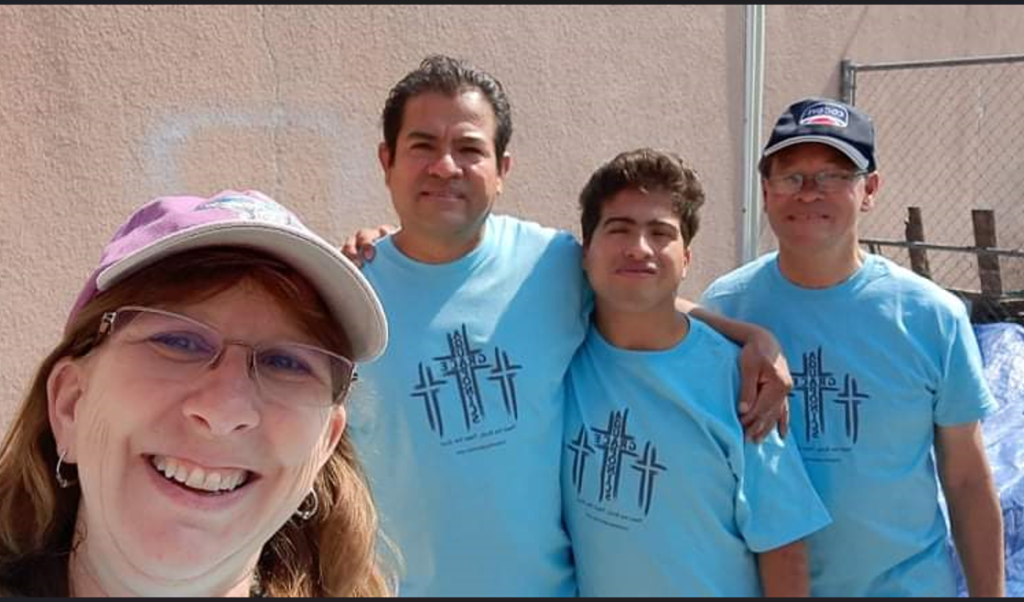
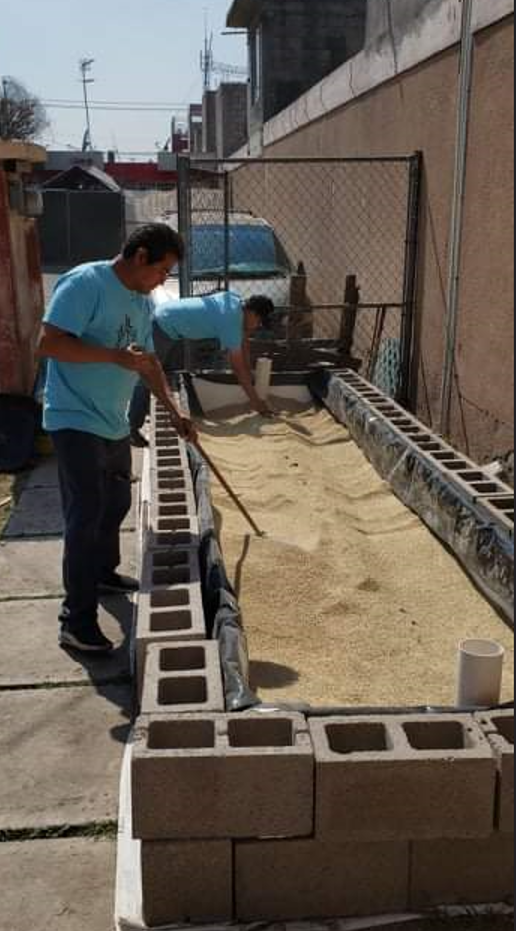
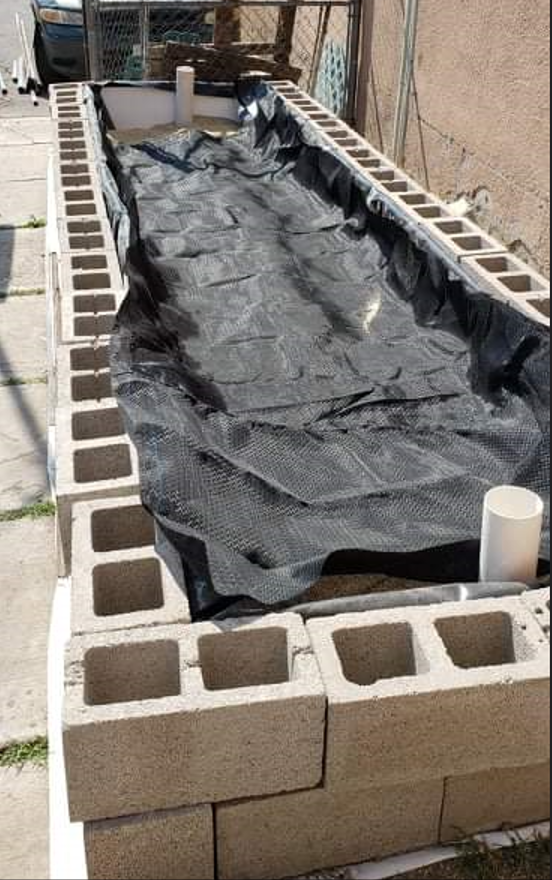
John and Tracey Pieters are Christian missionaries with United World Mission in Mexico City, Mexico. Their vision is to create a complete Aquaponic System to bring people together, sharing labor, life stories, pure food, and the joy of knowing Jesus Christ.

You may support John & Tracey financially by clicking John & Tracey Pieters – United World Mission (uwm.org) or write a check to “United World Mission” and note your preference to “John & Tracey Pieters Support” (Account #27334).


Aquaponics Design Certification

Completion Certificate

With thankful hearts, we Praise God for blessing us with the opportunity to attend Murray Hallam’s Aquaponics Design Course and to receive the commercial systems design certification. The 8 week online course included 5 to 8 hours of weekly video instruction, quizzes, and class discussions. The course required the submission of a complete system design. We presented the detailed design of the Mexico City Aquaponics House where John and Tracey Pieters are Christian Missionaries. Their vision is to create a complete Aquaponic System to bring people together, sharing labor, life stories, pure food, and the joy of knowing Jesus Christ. Murray Hallam commented on our design, “Altogether, an extremely well-prepared Aquaponics Project plan.”. We’re looking forward to working with John and Tracey to bring this plan to reality!

Yikes! Aquaponics Water pH Crashed!

The fish had not been eating as much and the plants were not growing well. A crop of Butterhead lettuce seedlings all died within two weeks of being rafted. Something was wrong.

Background

I’ve been operating my backyard 48 square foot deep water culture Aquaponics system for about 4 years now and have never seen these combination of events. The plants had been growing well and the fish active and eating. I had gotten complacent and was not checking water quality regularly. The first test sample revealed a high ammonia level of 4 ppm, and the pH reading was 6.0. It appeared that the nitrification process had stopped working and suspected the pH was lower than 6.0. I realized that 6.0 was the lowest reading either of my test kits could measure so I purchased an electronic meter pen for about $10 that could measure pH from 0 to 14.

pH Pen
pH pen measures from 0 to 14 pH

Yikes! The pH is 4.50! This is too low for my Tilapia, plants, and bacteria. It should be between 6.2 to 6.8.

The Solution

Searching the internet I found an informative article written by Sylvia Bernstein titled “Managing pH in Aquaponic Systems“. In this article she points out that during the life of an Aquaponics system the pH will naturally go down as a result of the nitrification process. She says, “…the nitrogen cycle actually produces nitric acid, which will naturally cause your pH to go down. ” She explains that the hardness of the water “dictates the buffering capacity”. I’ve been keeping a mesh bag full of crushed eggs shells in the system to supplement the calcium, but it has not been enough to offset the production of nitric acid.

Following her advise, I checked the water hardness and found carbonate hardness (KH) was around 5 dKH (or 89.5 ppm) and general hardness (GH) was at about 358 ppm. So the buffering capacity was adequate to raise the pH by adding calcium carbonate and potassium carbonate.

One last check of the pH measured 4.90 (water was 72 degrees F). This system has a total water volume of about 560 gallons. Not wanting to move the pH up too fast I used what was recommended to treat 200 gallons of water. I added 5 teaspoons of each powder into two separate glass pint jars of system water and stirred until dissolved. I slowly poured out the first jar over the air stone at the end of the first trough where the fish tank water flowed into the trough and waited for it to dissipate into the water. Then I slowly poured in the second jar.

The next day (about 16 hours later) the fish tank pH was 6.00 and the troughs were 6.22. Problem solved. I’ll monitor daily and add a little more to move the pH up to around 6.5.

Lessons Learned

  • Check the water quality at least every three months and keep a log of the results.
  • Use a pH Pen meter that goes from 0 to 14 pH.

First 72 Seedlings Rafted at TOL site

In less than a week the first crop of Butterhead and Red Romaine lettuce has sprouted! Rebecca’s helper used a fork to gently lift the seedlings from their cells and place them into the netpots. The netpots are floating in 2″ thick foam rafts

Two 36 hole rafts filled with seedlings.

Tilapia Fingerlings Added to the TOL System

Today the Aquaponics grade Blue Tilapia were delivered from Lakeway Tilapia and added to the TOL system. The system water tank was 82 degrees and the shipping water bag was about 78 degrees. The system water was pH 7.5 and the shipping bag was pH 7.8. So everything looked good for adding the fingerlings to the system tank. After the Tilapia grow bigger then 15 will be removed and moved to another system.

Short video of the Tilapia fingerlings.